
You used a crochet kit to make a cozy coaster, a small succulent plant, or a plush toy. Keeping that handmade piece looking good and your kit tools in working order is half the pleasure of making. This guide dives into simple, realistic maintenance and care routines for finished projects and the supplies inside your crochet kit. No preaching, just useful habits that extend the life of your makes, protect your investment, and keep the process enjoyable whether you’re a casual maker or a committed stitcher.
Why Maintenance Matters for Things Made from a Crochet Kit
A lot of people think that once it’s made, it’s done. But yarn ages, stuffing compresses, and tiny eyes can loosen. A little attention changes that. Proper care helps colors stay fresh, shapes keep form, and your crochet kit tools stay usable. Plus, caring for handmade objects teaches you about materials—valuable when you next choose a crochet kit or plan your own design.
Simple Laundering Rules for Handmade Pieces
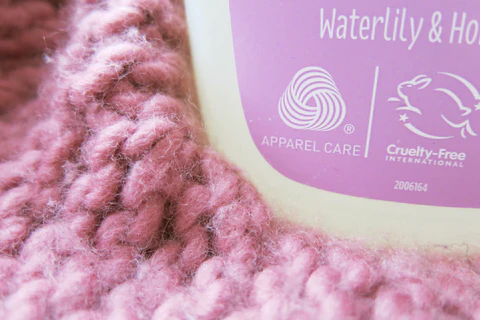
When your crochet kit project needs cleaning, follow three rules of thumb: check the yarn type first, be gentle, and dry flat.
- Identify the fiber. Acrylic, cotton, and wool behave differently. Most crochet kit labels or pattern notes indicate fiber content—read them. If not, test a hidden loop with cold water.
- Spot clean when possible. For a small stain on an amigurumi from a crochet kit, try a tiny dab of mild detergent and water rather than a full soak. It saves shape and stuffing.
- Hand wash for delicate yarns. Use lukewarm water and mild soap. Rinse gently. Press out excess water, do not wring. Lay the piece flat on a towel to dry, reshaping as you go.
- Machine wash only if safe. If the yarn is labeled machine-washable, place the finished work inside a laundry bag and use a delicate cycle. Even then, air-dry flat to preserve form.
These steps keep items from a crochet kit looking fresh without risking felting or distortion.
Preventing Pilling and Color Fade
Pilling and fading are the slow leaks of craft. Avoidable, to a degree.
- Choose the right yarn to begin with. When buying a crochet kit, check the fiber: superwash wool pills less but can felt; acrylic resists moisture and is kid-friendly.
- Turn items inside out for storage if they’ll live in a drawer—this protects brighter color faces.
- Sunlight is a slow enemy. Don’t leave finished pieces from a crochet baking on a sunny windowsill for weeks; it dulls colors.
- Remove pills carefully. Use a fabric comb or tiny scissors to trim fuzz—work slowly and don’t cut the base yarn.
A bit of attention now saves you from frequent remakes of the same crochet project.
Stuffing, Seams, and Safety—Toys and Kid-Friendly Makes
If you used a crochet kit to make toys or baby-friendly items, safety and durability matter.
- Double-stitch critical seams. Reinforce joints where limbs attach. A little extra thread hides inside but prevents future splitting.
- Secure eyes and small parts. For toys made from a crochet kit, either use embroidered eyes or safety eyes that the kit rates for the target age. Check connections periodically.
- Washability matters for kids. Choose a crochet kit with washable yarn if the finished piece will be handled constantly.
A quick monthly inspection can promptly identify loose seams and prevent small tears from ruining your crocheted toys.
Tool Care—Hooks, Needles, and Storage Inside Your Crochet Kit
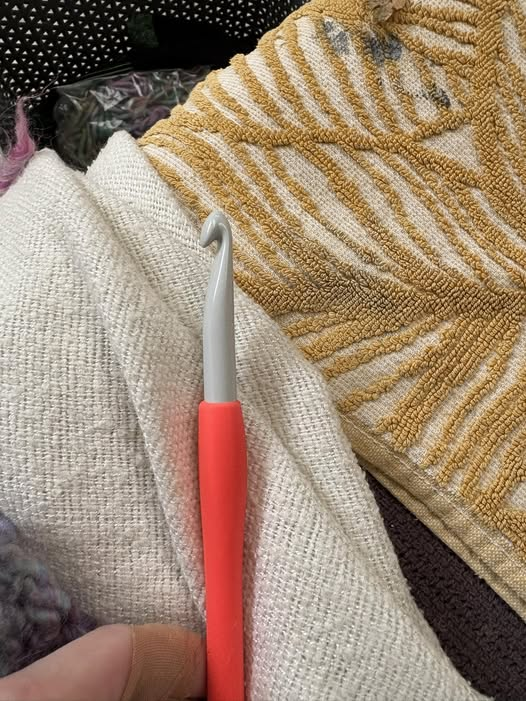
A good crochet kit includes tools that need care too.
- Clean hooks occasionally. Wipe metal hooks with a soft cloth; for wooden or ergonomic hooks, a small amount of mineral oil keeps them smooth.
- Store hooks in a case. A zipped pouch inside your crochet kit prevents bending and loss.
- Sharp needles deserve a cap. Darning needles and stitch markers kept together reduce accidents and extend life.
Caring for the tools in your crochet kit means fewer interruptions and better stitches.
Blocking and Shaping—When to Use It for Crochet Kit Projects
Blocking helps certain flat projects settle into the right size and drape.
- Flat items first. Coasters and placemats from a crochet kit often benefit from a gentle block: dampen, pin to shape on a foam board, and let dry.
- 3D items—subtle shaping. For small succulents or animal heads, a minor pin-block can even out edges before final assembly. Don’t overdo it—3D shaping works better with careful stuffing than heavy blocking.
Blocking is a finishing technique that makes a crochet kit project read as professional rather than homemade.
Storing Unfinished Kits and Leftover Yarn
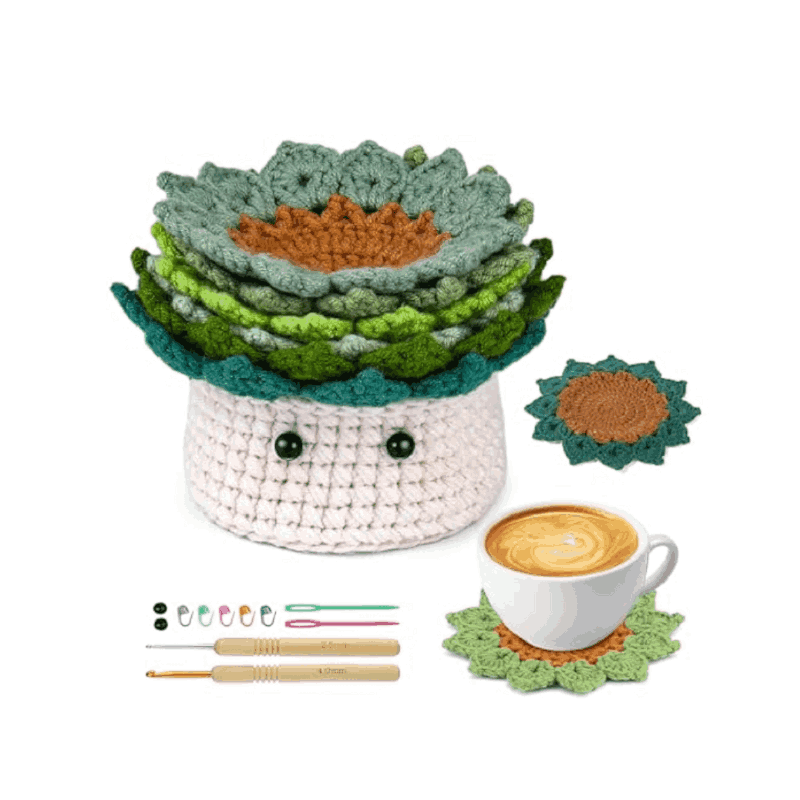
Your crochet kit might have partial skeins left. Store them well.
- Label leftover bits. Note the yarn type, dye lot, hook size, and the kit name on a small sticker. Next time you open the drawer, you’ll thank yourself.
- Avoid humidity. Store kits in a dry box or sealed pouch to keep moths and mildew out. Consider cedar blocks for long-term storage.
- Combine scraps for practice. Small color leftovers are perfect for practicing tension—test pieces for your next crochet project.
Thoughtful storage makes your kit last and keeps future projects easy.
A Quick Checklist to Keep by Your Making Space
- Check yarn labels before washing.
- Lay flat to dry.
- Inspect seams and eyes monthly for toys.
- Wipe hooks and oil wooden handles twice a year.
- Store leftovers labeled and dry.
Tuck this checklist into the lid of your crochet kit pouch.
Final Note—Care is Part of the Craft
Caring for things you make completes the loop of creativity. A little time spent maintaining finished items and the tools in your crochet kit maximizes joy, reduces waste, and teaches you the materials’ language. Start with a simple habit, such as letting your finished coasters air dry, and other habits will follow. Your makes deservedly stick around.
Find a beginner-friendly crochet kit to start caring for handmade pieces—shop the collection.