
You bought a crochet kit because it promised a clear path: yarn, hook, pattern, finished item. Nice. But what if that tidy promise is just a starting line? Make some adjustments to the kit, such as replacing the yarn, changing the proportions, or remixing the colors. This can transform a boxed project into a truly unique creation. This post gives practical, low-risk ways to customize a crochet kit so results fit your style, skill level, and stash. If you’re a beginner, these edits are intentionally small and reversible. Try one, see how it feels, and then do more.
Why Customize a Crochet Kit at All?
A kit is designed for mass success: consistent yarn, matching hook size, and a pattern that works for most people. Great. But maybe you want:
- A different color to match your living room.
- A softer yarn because your hands are sensitive.
- A slightly larger coaster so your travel mug won’t spill.
Customizing helps you learn—fast. Each substitution forces one decision and teaches how gauge, texture, and tension interact. It’s not risky if you keep the original materials nearby; you can always “undo” the change.
Two Small, Safe Experiments to Start With
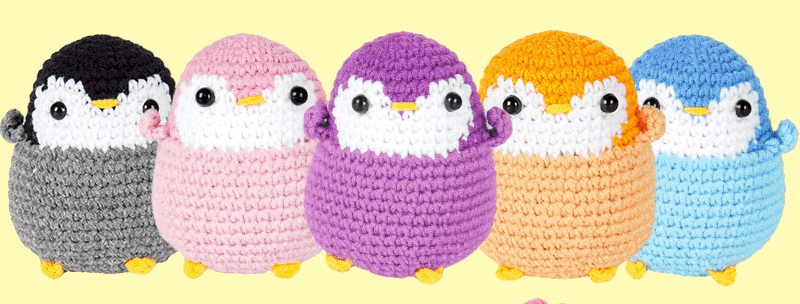
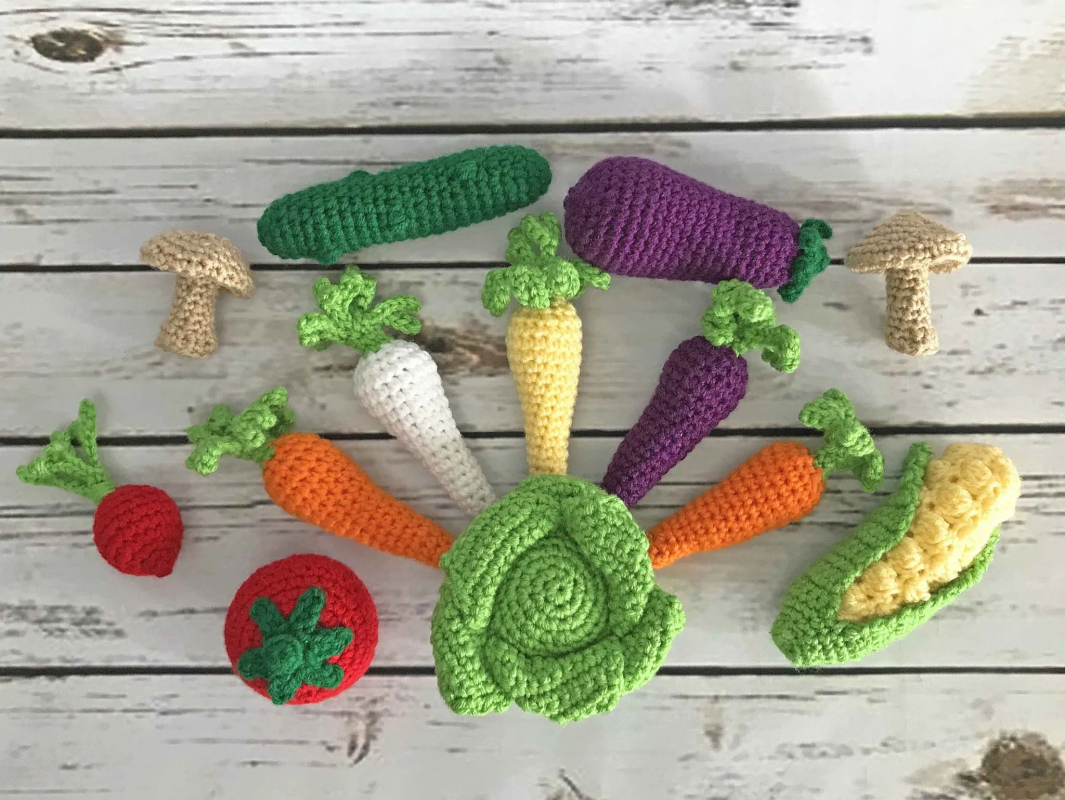
Pick one crochet kit you already own. I’ll use two concrete kits from your lineup as examples (we’ll stick to these so you can follow along): the Vegetable Crochet Kit and the Penguin Crochet Kit. Both are friendly for beginners, rewarding for experienced hands, and give immediate feedback.
Swap Yarn Weight: Try With the Vegetable Kit
If your Vegetable Crochet Kit includes fingering or sport weight yarn, try substituting a chunkier yarn and a slightly larger hook. The result: bigger, softer veggies, faster stitching, and a more playful texture.
Notes:
- Make a small gauge swatch first using the same stitch pattern. If the new yarn makes the fabric loose, bump up the hook size.
- Please note that color blending appears differently in thicker yarns, and your carrots and tomatoes may show larger areas of color. That’s not a flaw; it’s a creative twist.
- Since the vegetable shapes vary, thicker yarn may shorten the number of rounds needed but create a bolder, plushier look.
This experiment gives visible results fast, whether you like the change.
Change the Fiber for Hand Comfort: Try With the Penguin Kit
Some yarns feel scratchy; others feel buttery smooth. Swap to a softer acrylic or silky cotton if your hands prefer it. With the Penguin Crochet Kit, where shaping the round body and facial details takes time, a smoother yarn can make every stitch more enjoyable.
Tips:
- Cotton fabric retains its shape and stitch clarity very well, making it ideal for creating neat and stylish penguins.
- Soft acrylic gives a cuddlier texture but may blur fine details slightly.
- Maintaining stable tension is crucial because different fibers stretch and slide through the coil in different ways.
If you’re a beginner, this small fiber swap feels like a comfort upgrade that keeps your fingers happy and your project fun from start to finish.
Color Remixing: How to Choose Palettes That Actually Work
Color choices are surprisingly decisive. Here’s a quick method to remix the palette in any crochet kit without overthinking.
- Pick one dominant color from the kit.
- Choose a neutral (off-white, gray, or muted brown) from your stash to anchor the palette.
- Use one accent color (a brighter tone) to pop small details.
Add a Custom Detail: Small, High-Return Tweaks
If you want personality without complexity, add one small detail to the kit pattern:
- Embroidered eyes or noses on a penguin rather than safety eyes.
- A tiny chain loop to turn a coaster into a wall ornament.
- A contrasting border to make a coaster read like a design piece.
These are one-off choices that take five to fifteen minutes and change the vibe completely.
When to Keep Kit Instructions
Use the kit instructions when the pattern has structural instructions (increases, special stitches), or you’re following a size requirement. Improvise when you’re changing scale, swapping fiber, or adding color. A practical rule: keep the first round or two as written and tweak after you’re past the base.
Simple Troubleshooting Checklist
- If the piece is too tight, go up one hook size.
- If the piece is floppy, go down one hook size or switch to a tighter stitch (single crochet instead of half-double, for example).
- If the color change looks muddy, add a thin border in a neutral to separate blocks.
- If sewing parts together looks messy, use a slightly thinner yarn in the same color for seams; less bulk reads neater.
These are all minor adjustments: they’re quick to implement, and you won’t regret them.
Save Your Experiments
Keep a tiny notebook or a phone photo log for each crochet kit experiment: yarn used, hook size, what changed, how long it took, and one sentence on what you liked. Over time you’ll build a personal cheat sheet that makes future customizations quicker and less guessy.
Final Thoughts: Personalization Is a Learning Tool, Not a Perfection Trap
Customizing a crochet kit is less about making the “perfect” object and more about making something that fits you. Start small. Keep the original materials around. Treat each substitution as a lesson. You will quickly build confidence, and eventually you will create something that feels like your own work, rather than something that is no different from someone else’s.
If you want one easy step, pick a crochet kit, substitute one yarn or one color, and finish a single small piece. That tiny experiment will tell you more than a week of online browsing. Try it, and enjoy the slight happy-scrappy human-ness of a homemade tweak.
Ready to remix a kit? Grab your crochet kit and a spare skein, and give one tiny experiment a go tonight.