From Nice to Stunning: Master Decreases to Bring Soul to Your Crochet Kits

Have you ever had this experience? Following a crochet kit diagram exactly, stitch by stitch, your piece comes out cute, very “standard,” but something seems missing. It sits quietly, like a well-behaved homework assignment, yet lacks that lively charm that makes you smile involuntarily.
Where’s the problem? Often, the secret to taking a project from “nice” to “stunning” isn’t in complicated stitches, but in mastering a basic sculptural art: decreases.
Yes, that simple action that seems only to close up the work. In the hands of a skilled crocheter, decreases are not an end, but a brush; not a seam, but a carving tool. Today, we explore how this “hidden art” can become a superpower to inject personality and soul into your projects.
Decreases: More Than “Shrinking”—Your Shaping Sculpting Tool
Most beginners view decreases as a necessary nuisance: “Oh, this round is closing; I’ll just do a single decrease.” In this mindset, decreases are purely functional, merely narrowing the fabric to finish it.
Let’s shift perspective. Imagine you are a sculptor facing soft clay (your crocheted fabric). Increases add clay, expanding shapes. Decreases are precise presses and sculpting motions that create contours, recesses, and delicate transitions.
When you see decreases as shaping rather than “shrinking,” everything changes. Decreases can:
- Define contours: Regular decreases and increases in a doll’s midsection can create an elegant waistline instead of a straight cylinder.
- Carve expressions: Symmetrical decreases at specific cheek spots instantly form cute pouty or smiling curves.
- Create dynamics: Asymmetrical or staged decreases make a static doll look like it’s tilting its head or curling, ready to come alive.
Practical Examples: How Decreases Bring Characters to Life
Example 1: From “Sphere” to “Lively Posture”—The Penguin Case
Many animal amigurumi start as spheres. Perfect spheres often look rigid. A lively posture is full of subtle curves.
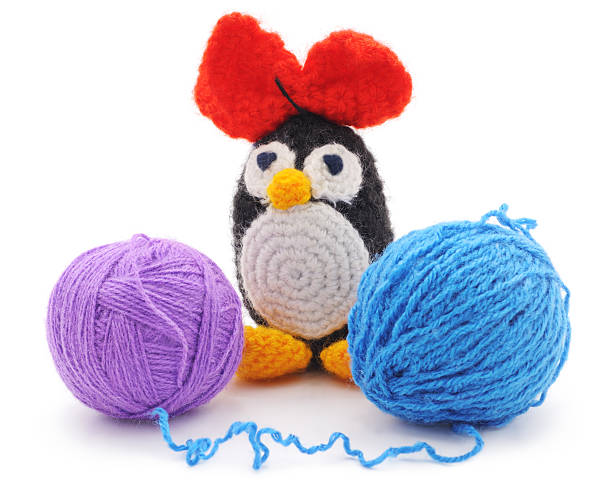
Observing a well-designed penguin crochet kit, excellent diagrams never only decrease the top of the head. True magic lies at the neck-body connection and even in the signature white belly area.
To make the penguin appear plump yet soft, designers use a precise, gradual decrease around the upper body. This creates a gentle shoulder or neck contraction, allowing the head to sit naturally, rather than appearing as two stiff spheres stuck together. Similarly, subtle decreases along the top edge of the white belly shape create a slightly bulging curve, mimicking a real penguin’s form.
Following this diagram, you aren’t just assembling parts—you are sculpting posture step by step. That’s why identical stitches can result in vastly different liveliness between designs.
Example 2: Giving a “Face”—Expression Emergence
The soul of a doll is largely in the face. Facial expressions in crochet rely almost entirely on the interplay of decreases and increases.
For example, in a classic bunny crochet kit, a simple two-dot eye and a stitched mouth are cute. But a bunny with plump cheeks, smiling or curiously peeking, is memorable.
How? Focus on the cheeks. While crocheting the head, in the areas for cheeks (typically below the eyes), purposefully do one or two rounds of slight, symmetrical decreases. This forms subtle dimples or inward recesses. When subsequent stitches or slight increases are added, the surrounding area naturally bulges, creating full cheeks.
This internal adjustment shaping the external contour is an advanced amigurumi technique. No complex embroidery is needed; shape alone conveys rich emotion.
Advanced Must-Learn: “Invisible Decrease” for Porcelain-Smooth Finish
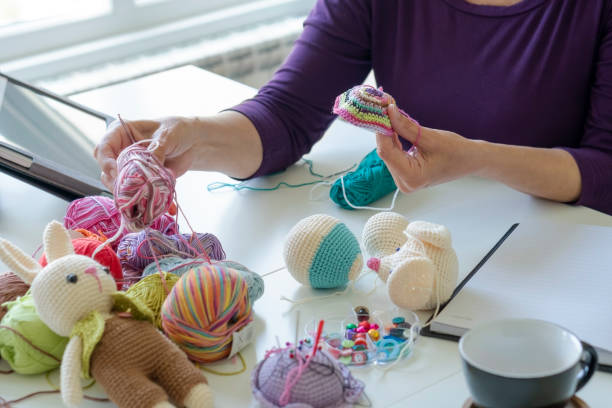
After mastering shaping with decreases, a technical challenge arises: standard single decreases sometimes leave noticeable bumps or holes. For small, delicate dolls, this disrupts overall refinement.
Here comes the “invisible decrease,” slightly longer than a standard decrease but vastly more effective:
- Insert the hook into the next stitch, yarn over, and pull up a loop (two loops on hook).
- Do not complete the single crochet! Insert the hook into the next stitch, yarn over, and pull up a loop (three loops on the hook).
- Yarn over, pull through all three loops on the hook.
This averages the decrease across three loops and positions the decrease deeper within the fabric, leaving an almost imperceptible smooth transition. Using this for shaping makes curves as smooth as porcelain, instantly elevating the tactile quality.
Decrease Q&A
| Question | Answer |
|---|---|
| When I decrease, I leave ugly holes or bumps. What went wrong? | Usually two causes: (1) Crocheting too tightly, causing excess tension during decreases. Relax your hands intentionally in those rounds. (2) Uneven stitch insertion—always insert the hook through both strands of the “V,” not just one. Practicing the “invisible decrease” is the ultimate solution to minimize marks. |
| Can I add decreases on existing crochet kit diagrams to modify my project? | Absolutely! This is the leap from “maker” to “creator.” For beginners, start with small, non-structural adjustments. For example, on a bunny kit, add one or two decreases at the ear-head junction for a more natural angle. On a strawberry kit, add a few dense decreases at the top before closing for a sharper, realistic tip. Key rule: symmetry is essential—adjust equally on both sides. Experiment boldly; your control over shape improves rapidly. |
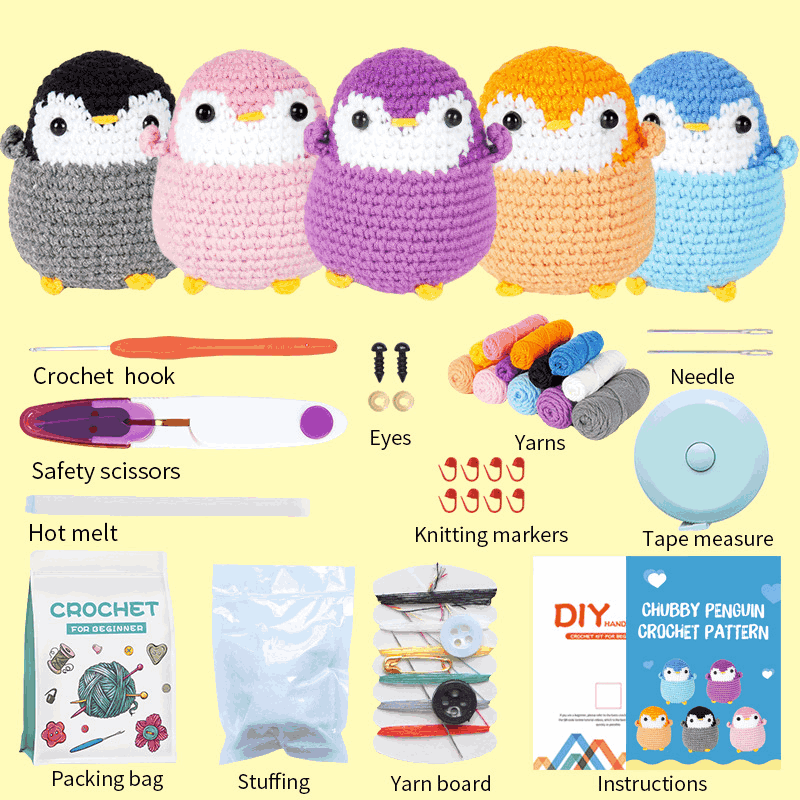
Mastering decreases elevates you from merely “crocheting fabric” to sculpting forms. It gives yarn life and expressive power, making each piece uniquely yours. No expensive materials required—just insight, practice, and courage to think beyond diagrams.
A good crochet kit is a silent teacher. Its carefully designed decrease rows guide you to create extraordinary shapes with basic stitches. When choosing your next project, pay attention to kits praised for their shaping, and learn from the designer’s subtle decrease/increase strategies.
Now, pick up your hook. Don’t see decreases as mere instructions, but as a creative opportunity. You’ll notice your pieces subtly transforming—from cute and well-behaved to truly lively and soulful.