A Basket of Summer Fruit: Step-by-Step Guide with Crochet Kits
Imagine this scene: a sunny afternoon, on your coffee table sits a fruit basket that will never rot and always remains vivid—filled with handmade crocheted strawberries, bananas, apples, and even a few blueberries. This is not magic but a reality you can create with your own hands.
“Today, we are launching a real creative journey, taking you step-by-step to turn balls of colored yarn into an amazing basket of crocheted fruit.”
Whether you want to add a splash of lively color to your home, find unique photography props, or make a heartfelt handmade gift, this project has you covered.
More importantly, by completing these small yet beautiful pieces, you will systematically consolidate core skills from basic stitches to 3D shaping.
Project Overview: Your “Edible” Art Basket
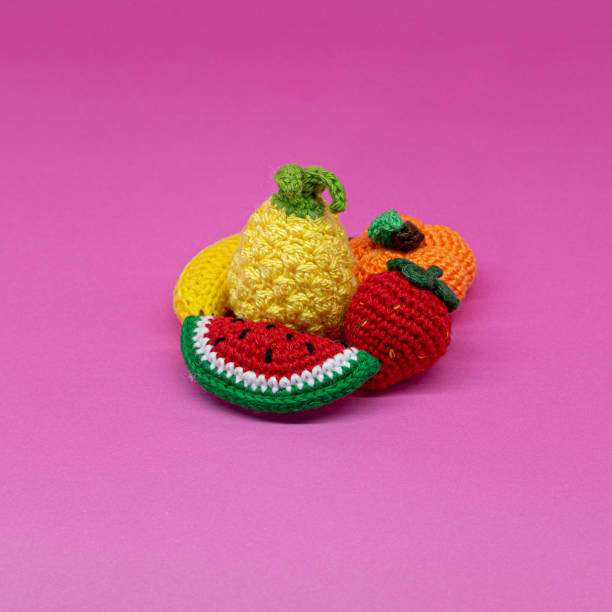
In this tutorial, we will focus on a fruit crochet kit to complete a decorative fruit basket. Fruit is an excellent learning platform because its diversity teaches different shaping logics:
- Consolidating Basics: Magic ring, single crochet, increasing, and decreasing.
- Skill Upgrading: Color changing, irregular shaping through stitch sequences, and assembly.
- Color and Texture: Simulating the vivid appearance of real fruit using various yarn colors.
- Project Planning: Managing a composite project consisting of multiple small items.
Essential Tools and Materials:
A high-quality kit provides everything: precisely matched yarn (strawberry red, banana yellow, and apple green), matching crochet hooks, stuffing, sewing needles, and a detailed pattern.
Step 1: Preparation and Basic Stitch Review
Before jumping in, spend a moment on preparation to make the process more enjoyable.
- Inventory Check: Familiarize yourself with which color corresponds to which fruit. Read the stitch abbreviations (e.g., “sc” for single crochet, “inc” for increase).
- Basic Stitch Warm-up: Practice the magic ring (for tight, hole-free starts), single crochet (for dense fabric), and increasing/decreasing (for shaping).
Pro Tip: Use a stitch marker to label the start of every round; this is crucial for accuracy.
Step 2: Starting with “Strawberry”—Learning Shape and Detail
The strawberry is an ideal starting point—a simple structure with interesting texture details.
- The Body: Use red yarn and a magic ring. Follow the pattern to form a hemisphere. Before closing, fill with stuffing until plump but not too hard.
- The Leaves (Sepals): Switch to green yarn. Practice radiating stitches from a flat circle to form a star shape.
- Assembly: Sew the leaves to the top. Use a short length of dark yarn to embroider “seeds” on the surface.
Step 3: Hooking a “”Banana”—Mastering Curves and Gradients
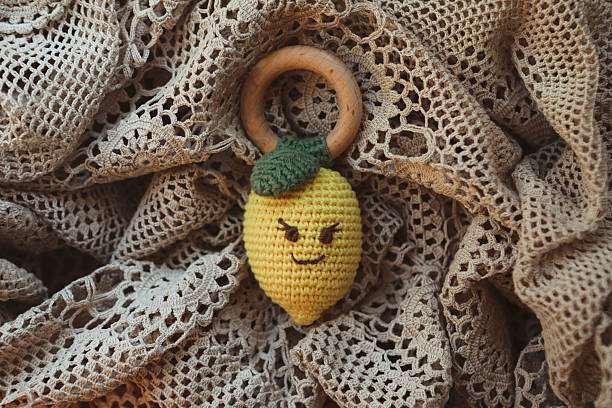
The challenge here lies in the unique curved arc and tapered ends.
The pattern will guide you to increase on one side and decrease on the other (or keep stitches even) within a cylinder, causing the fabric to naturally bend.
Use deep brown yarn at the ends to simulate the stem residue.
Step 4: Challenging the “”Apple”—Understanding Symmetry and Indentations
An apple is a sphere but with distinct top and bottom indentations.
| Part | Technique |
|---|---|
| Fruit Body | Crochet a complete sphere (increase then decrease). |
| Indentations | Sew small discs to the top and bottom centers to create a natural “dimple” effect. |
| Stem & Leaf | Crochet a short chain for the stem and a simple heart shape for the leaf. |
Step 5: Assembly, Finishing, and Display
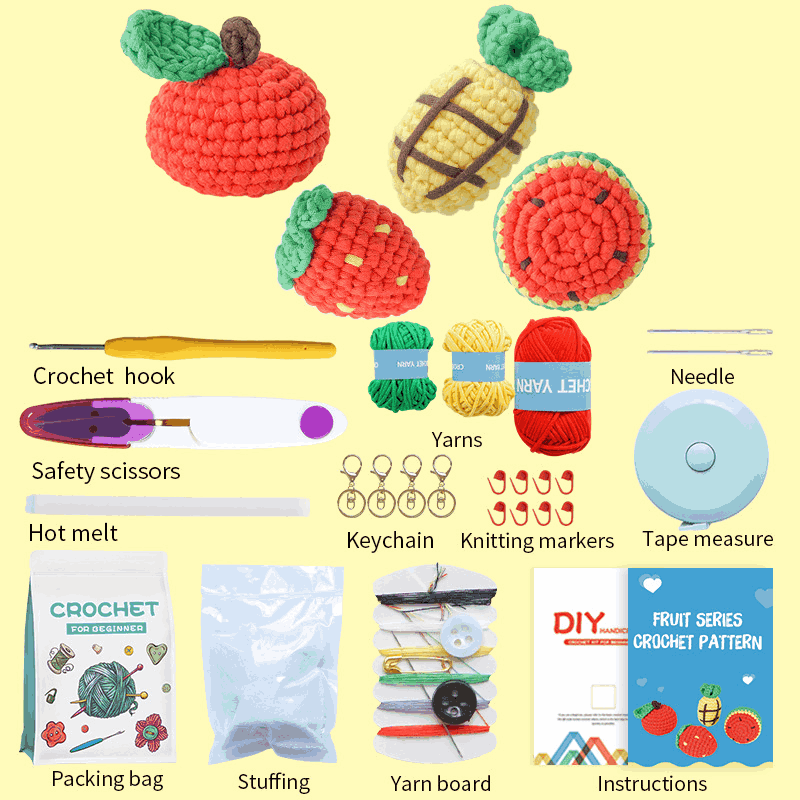
After finishing individual pieces, let them shine as a collection.
Check that the stuffing is even. You don’t actually need to crochet a basket; you can artistically arrange them in an existing plate or wooden bowl.
Capture your fruit basket under natural light for a perfect record. Start your colorful creation journey with our fruit crochet kits.
Beyond the Tutorial: Creative Expansion
- Mix and Match: Combine these fruits with pieces from a Vegetable Crochet Kit for a “Farmer’s Market” theme.
- Color Experiments: Try fantasy colors like blue strawberries or purple bananas.
- Accessories: Add lanyards to turn them into bag charms or keychains.
Frequently Asked Questions (FAQ)
Q: What if I get stuck or can’t understand the pattern?
A: Search for visual demonstrations of specific stitches (like “invisible decrease”) on video sites. Most modern kits also provide online support or video links.
Q: Will there be enough yarn? What if I make a mistake?
A: Quality kits include precisely calculated amounts with a bit of room for error. If you make a mistake, gently frog (unravel) the yarn and reuse it.
Completing a basket of crochet fruit is proof of skill growth.
You have systematically practiced stitches from basic to advanced and successfully managed a complex composite project. This sense of achievement is unparalleled.
An all-in-one fruit crochet kit is your perfect partner, removing the hassle of preparation so you can focus 100% on learning and creating. Hook the sweetest, most lasting fruits of summer today!
Related Posts
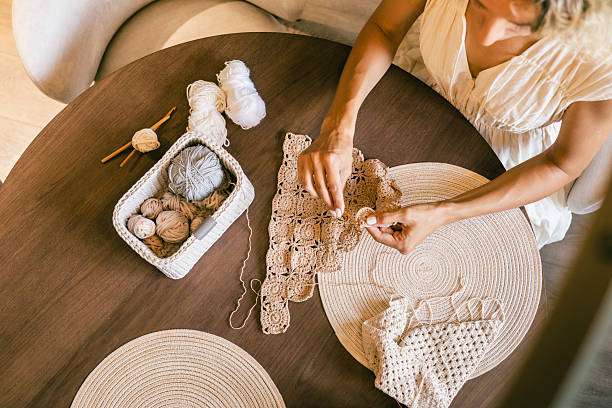
From Plain to Stunning: Adding Soul to Your Home with Crochet Kits
- Posted by
 Caroline R. Johnson