Crochet Kit: Meaning of Stitch Count, Crochet Hook, Tension, and Filling

If you’ve ever opened a crochet kit and wondered why one project looks “pro” while another goes floppy or lopsided, you’re not alone. It’s not magic; it’s materials science—basic but often overlooked. This article will explain the technical principles behind crochet kits, such as stitch length, hook size, yarn thickness, tension, stuffing, and assembly, in simple terms. Knowing these mechanics helps you choose the right crochet kit, troubleshoot common problems, and get consistent, satisfying results whether you’re a beginner or a maker who wants to level up.
The Three Most Important Factors: Yarn, Hook, and Gauge
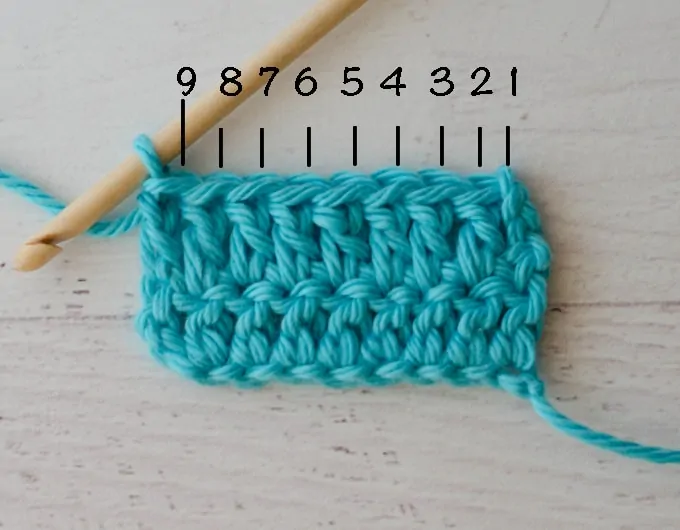
When people say “gauge,” they sound technical—yet it’s just the relationship between yarn and hook.
- Yarn weight (fingering, DK, worsted, bulky) determines how big your stitches will be for a given hook. A well-designed crochet kit lists the yarn weight for the pattern so you get the intended size and drape.
- Hook size must match the yarn to hit the pattern’s gauge. If you use a larger hook with the same yarn, your fabric will be looser; a smaller hook = tighter stitches. Many kits supply a recommended hook; follow it when you’re starting out.
- Gauge is the recorded measurement of how many stitches and rows fit into a given square (e.g., 10 cm x 10 cm). Patterns give you a gauge so you can check that your tension matches the designer’s. If you don’t match gauge, finished pieces can be too small or too large.
A crochet kit that balances these three elements lets you hit the target size quickly—no guesswork.
Tension: The Human Variable That Matters Most
Tension control is the single biggest human factor. Two people can use identical materials and still get different results.
- Your hands set the tension. If you pull yarn tight, stitches shrink; if you hold yarn loosely, stitches spread.
- The good news: tension is trainable. Simple exercises such as chain stitches, single crochet, and small swatches can help you find a comfortable and stable tension before you begin knitting.
- Many crochet kit designers include a “practice swatch” step for this reason. Don’t skip it, even if you’re excited to start.
If you’re teaching someone for beginners, emphasize tension practice. It’s boring, but it prevents most later frustration.
Stitch Selection and Structural Choices in Kits
Different stitches create different behaviors.
- Single crochet makes dense, sturdy fabric—great for stuffed toys in an Animal Crochet Kit or compact succulent bodies in a Succulent Plants Crochet Kit.
- Double crochet creates drapier, looser fabric—better for scarves or decorative trims.
- Pattern designers choose stitches strategically: dense stitches for 3D pieces that need structure and open stitches for decorative items.
When a crochet kit recommends one stitch style, it’s often because that stitch supports the final object’s shape or function.
Stuffing, Shaping, and Assembly—The Unsung Craft Moves
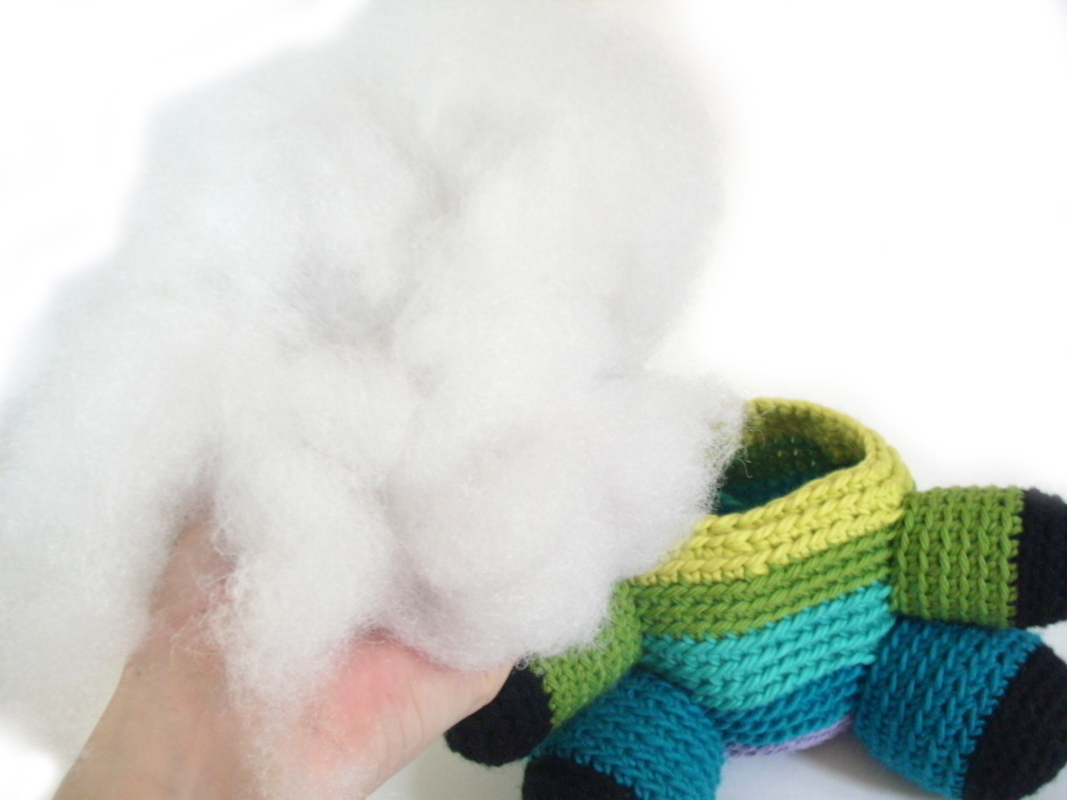
For amigurumi and 3D projects, stuffing and assembly are where many makers stumble.
- Stuffing density affects shape. Overstuff and seams bulge; understuff and the toy looks deflated. The trick: stuff gradually and push the fiber into contours with a stuffing tool or blunt pencil.
- Seam technique affects durability and aesthetics. Invisible joins and neat whip stitches make a piece read as finished rather than patched. A thoughtful crochet kit includes a darning needle and a brief note on joining.
- Shaping tricks, such as stuffing more at the nose or heels, can make the design more lifelike.
If a crochet kit includes tips on how much stuffing to use for each part, follow them. Small differences matter.
Color and Texture Choices—Why They Matter Technically
Color and fiber choices are often treated as aesthetic, but they have technical consequences.
- Fiber texture (smooth cotton vs fuzzy acrylic) affects stitch definition. If your pattern relies on clear lines (like facial features in an Animal Crochet Kit), choose a yarn with good definition.
- Color contrast matters when you plan to embroider details. High-contrast yarns make features pop; low contrast can hide the work.
- Blending textures can be deliberate: a fuzzy yarn for a succulent center and smooth cotton for leaves creates pleasant tactile contrast.
A well-made crochet kit will balance these elements so the finished piece looks and feels intentional.
Tools Beyond the Hook—Shortcuts and Quality Improvements
Kits often include more than yarn and a hook; some of these tiny tools significantly improve outcomes.
- Stitch markers help track rounds in amigurumi; their absence makes counting errors likely.
- Tapestry needles are essential for neat finishing.
- Ergonomic hooks reduce hand fatigue and help maintain even tension—useful if you’re crafting for long periods.
- A practical crochet kit supplies these or lists exactly which extras are recommended.
If you want the best results, invest in a small set of quality notions alongside your kit.
Troubleshooting Checklist—Quick Fixes for Common Kit Problems
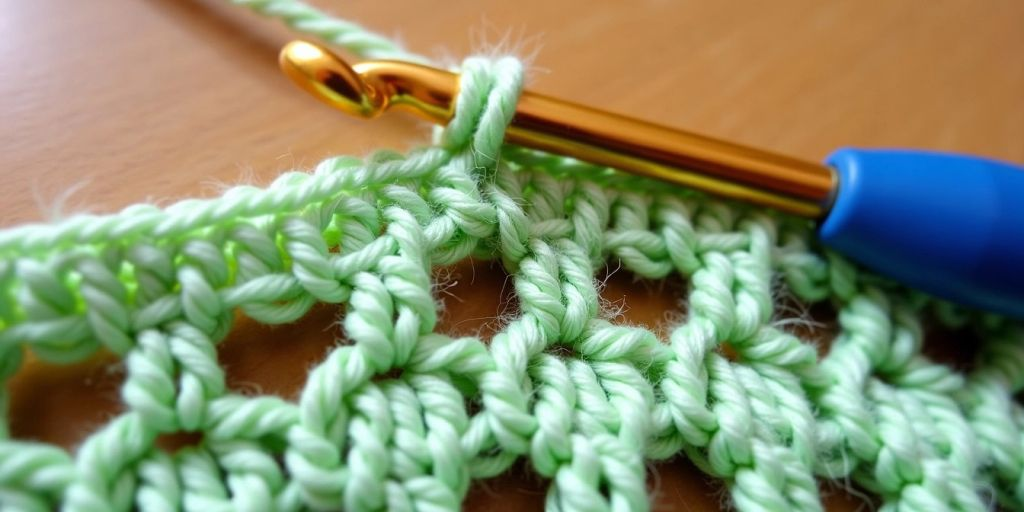
- Too small or too tight? Use a larger hook or relax your tension.
- Too floppy? Switch to a smaller hook or tighter stitch, single crochet instead of half-double.
- Lopsided shape? Check stuffing distribution and seam placement.
- Loose color changes? Weave in ends and block the piece if flat.
These are quick tech adjustments you can make on the fly with a crochet kit.
Bringing It Together—How to Choose a Kit Based on Technical Fit
When you pick a crochet kit, look beyond the pretty photo. Scan for:
- Yarn weight and fiber type are listed clearly.
- Recommended hook size.
- Gauge instructions and a practice swatch.
- Notions provided (needle, markers, stuffing).
- Stitch complexity—match it to your beginner level or skill goals.
A kit that checks these boxes saves frustration and teaches you the craft’s technical foundations.
Quick Practice Plan for Technical Improvement
If you want to improve technically, try this simple routine over two weeks:
- Day 1–3: Practice tension with 5-minute chain and single crochet sessions.
- Day 4–7: Make two 10×10 cm swatches at different hook sizes to learn gauge.
- Week 2: Pick a small crochet kit project (an animal head or a coaster) and apply what you learned.
Repeat, and things will feel more predictable—and more fun.
Ready to put these skills into practice? Choose a crochet kit that suits your skill level, gather your tools, and confidently begin knitting! The more you understand yarn, stitch length, and tension, the more predictable and enjoyable your creations will be. Choose your next kit today and transform your technical proficiency into creative freedom!