
A single crochet kit can make a dozen cute objects — but a good photo series does something more: it gives the object a life. This short guide teaches you how to use five distinct “lenses” to turn your handcraft into a mini narrative. If you ever wanted your crochet kit to look like it belongs in a magazine (or at least a very wholesome Instagram feed), read on.
Lens One — The Setup: Tools, Threads, and Texture
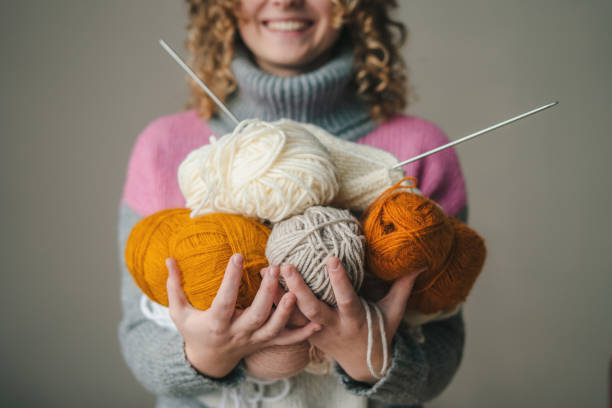
Start with the essentials: the skeins, the needle, the loops and the mess. Close-up shots of threads and loops tell the “making” part of the story. Use a shallow depth of field to highlight texture — you want the viewer to almost feel the yarn.
- Tip: shoot the hook mid-twist, a blurred hand in the background. Realness.
- Try natural light; window light at golden hour is forgiving.
This is where a crochet kit shows its promise: neat instructions, clear starter patterns, or color-coordinated threads. For beginners, a crochet kit that labels each color helps photos and learning.
Lens Two — The Action: Hands at Work
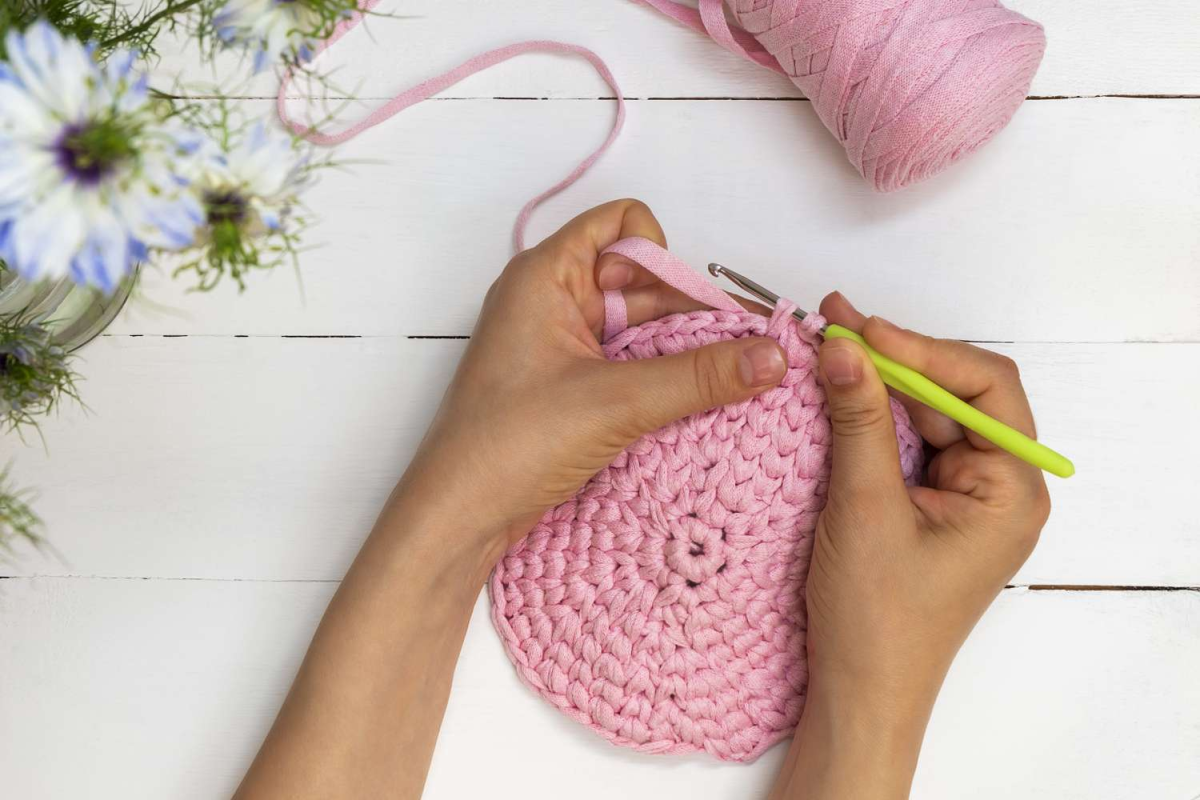
Action shots are the heartbeat. Capture motion: pulling a loop, tightening a stitch, a faint fray of a thread. These images read as effort and care. They tell your audience: “This was made by a human.”
- Use burst mode for a sequence of small movements.
- Include candid frames where the maker looks away — natural, imperfect, honest.
This lens fits starter projects and beginner tutorials especially well. Kids and adults both enjoy seeing hands working; for children, shorter bursts, brighter colors keep attention.
Lens Three — The Half-Finished Close-Up
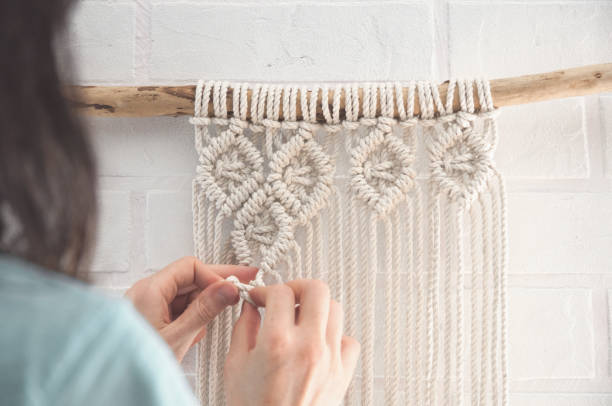
Now slow down. Show the halfway point: an almost-berry strawberry, a partially stuffed plant pot. A half-done piece creates suspense. It says, “wait for it…”
- Close-up on a seam, the tension of a stitch, a safety eye about to be sewn.
- Leave some imperfections — a visible tail, a pin holding pieces — it reads as authentic.
If you’re shooting amigurumi or penguin motifs, these frames are gold. The viewer imagines the final cute face, and they’re invested.
Lens Four — The Reveal: Finished Object, Styled Scene
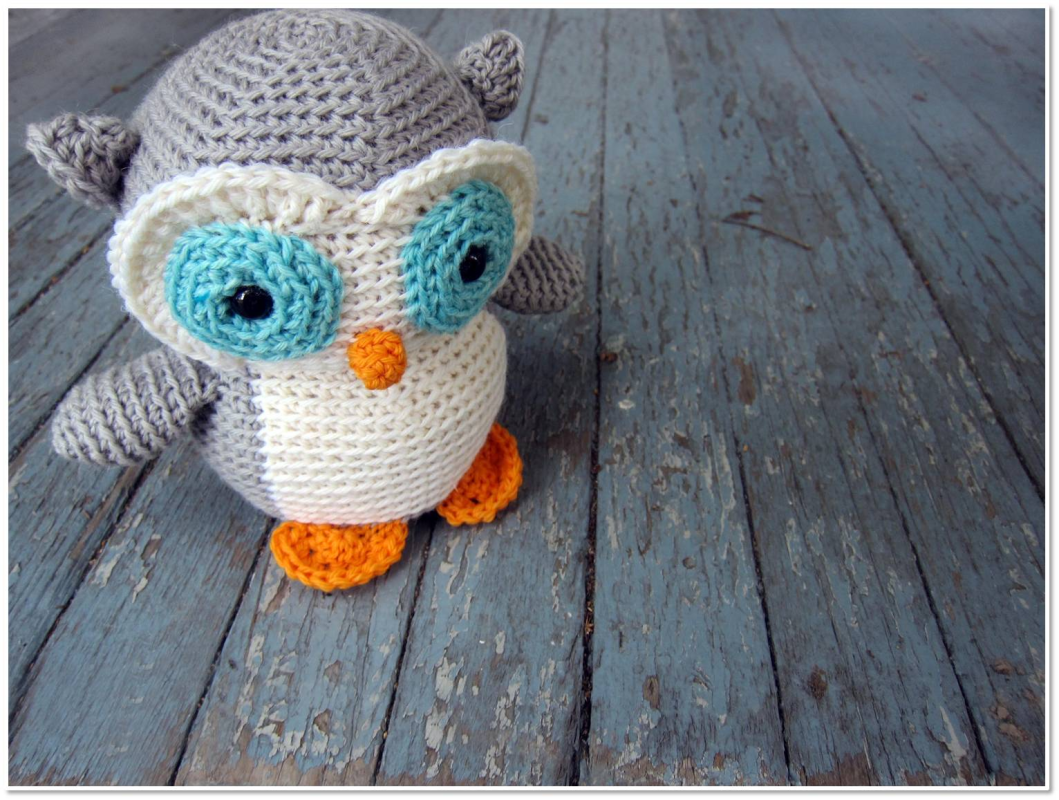
This is the payoff. The finished piece gets its moment. Style it like a prop: put a fruits keychain on a coffee cup, or tuck a tiny crocheted succulent into a bookshelf with real plants. Keep backgrounds simple; texture is good, clutter is not.
- Use a mix of flat-lay and lifestyle frames.
- Include scale: a hand, a cup, a child’s toy — that single prop tells size and use.
For coasters? Show water rings avoided. For plants? Let them sit beside a real pot. A crochet kit that yields photogenic results is a best seller on social channels — trust me.
Lens Five — The Life Shot: Integration into Everyday Moments
Finally, show the product living. A coaster under a mug, a tiny stuffed animal peeking from a backpack, a plant ornament on a windowsill. This is the “why” — why someone should buy a crochet kit. It’s not just craft; it’s mood.
- Candid lifestyle images work best: slightly messy, warm, believable.
- Include human interactions: a child hugging a toy, an adult arranging a shelf.
If you shoot for holidays like Christmas, a table scene with knitted garlands or mini penguins looks great. People buy feelings.
Color, Tone, and Consistency — Keep the Visual Temperature Steady
Decide on a color mood early: warm, cool, muted, or bright. Use consistent edits across your five-lens series so viewers feel continuity rather than chaos. Slight variations are fine — again, a little imperfection helps — but don’t switch from high-contrast neon to washed-out pastels mid-series.
- Lightroom presets help. Or use your phone’s native editor.
- For cute projects like penguin or animal designs, slightly higher saturation keeps them playful. For plant-based themes, lean desaturated greens for a calm look.
Practical Setup — Gear, Angles, and Mini-Storyboard
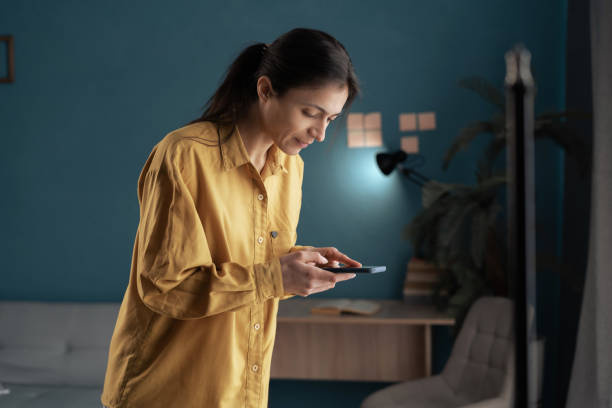
You don’t need fancy gear. A phone, a towel for background, a small reflector (white cardboard works) — done. Plan five frames in advance: Setup → Action → Halfway → Reveal → Life. That mini-storyboard keeps your shoot focused and fast.
- Angles: top-down for coasters, eye-level for toys, macro for texture.
- Keep one version of each shot with a human element. Viewers like to see scale and usability.
Quick Tips to Boost Shareability
- Make the first image a hook — bright color or intriguing close-up.
- Use captions that tell part of the story (short, human, slightly imperfect sentences).
- Add tags like DIY, beginner, kids, adults — they help discoverability.
- Include a short how-to clip: show loops turning into stitches over 15–30 seconds.
Recommended Kits for Photo-Ready Results
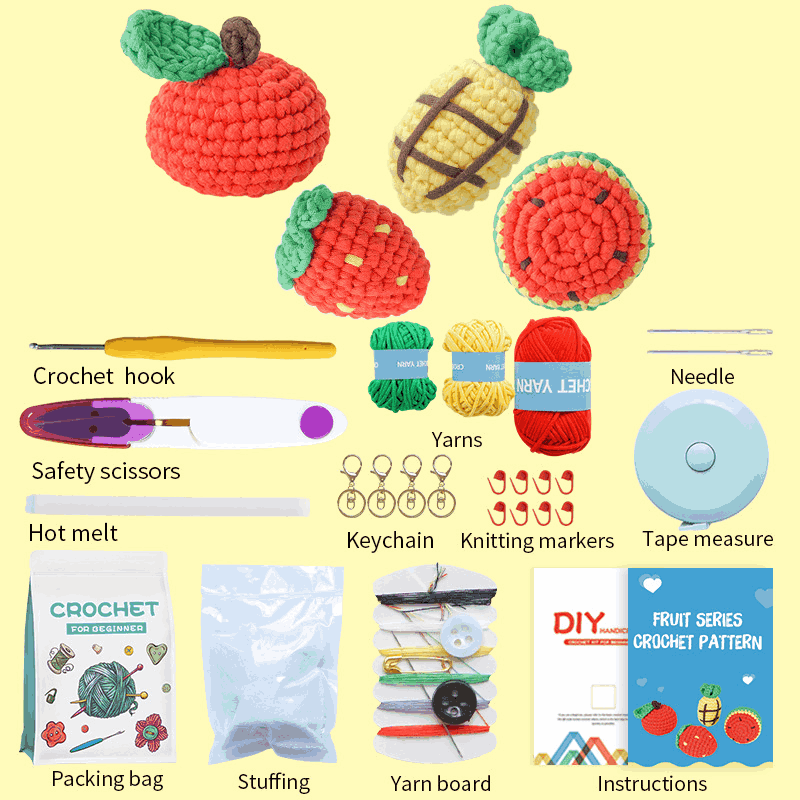
- Fruits Crochet Kit — saturated colors, small shapes, endlessly photogenic. Perfect for lifestyle breakfast shots and flat-lays.
- Potted Plant Crochet Kit — soft textures, neutral palettes, great for calm shelf vignettes.
Both crochet kits are friendly to beginners and offer quick wins for social content.
Final Notes
Not every shot will be perfect. Sometimes the light is stubborn. Sometimes the coffee spills. Fine. Those small real moments can become the most shareable frames — because they feel true. Photography is half planning, half happy accidents. Keep a crochet kit by your side, keep shooting. Learn as you go. You’ll get better. You’ll also have fun. Promise.
Ready to tell your story? Grab a crochet kit, pick five frames, and start shooting. Get your favourite crochet kit now and start your creative crafting journey!